Quick Hitter for a 3: Tips for Running an Effective Elevator Screen Play
Late-game situations—or just a stagnant offensive quarter—require a trusted set play that guarantees a high-quality shot. When you absolutely need a three-pointer, you can’t just rely on isolation basketball or hope a generic motion offense yields an open look.
You need a targeted, deceptive action.
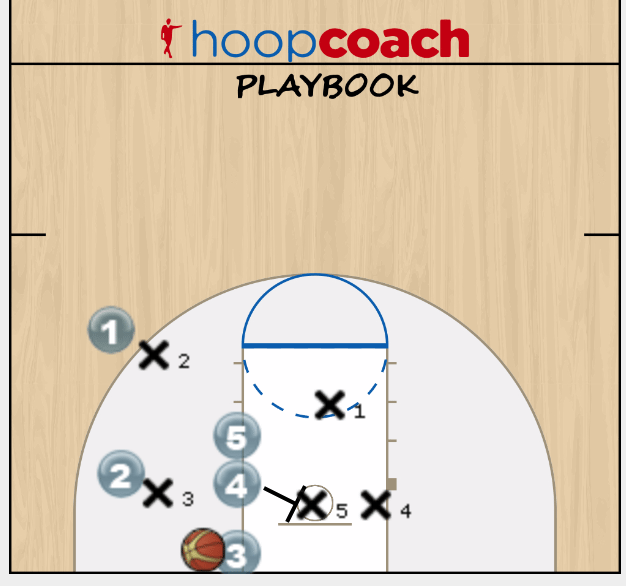
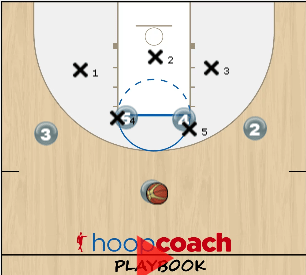
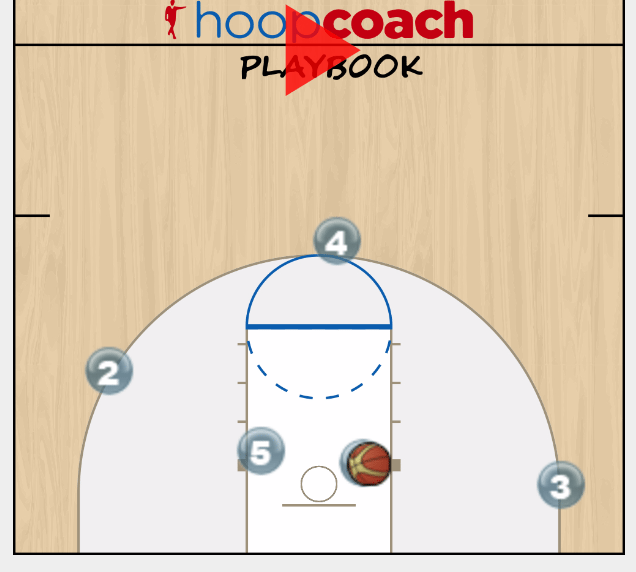
Today, we are breaking down a highly effective Quick Hitter for a 3. Looking at the animated diagram provided in the original Hoop Coach post, we are looking at a classic Elevator Screen (often referred to as “closing the doors”). Made famous at the NBA level by teams like the Golden State Warriors, this action is a nightmare to defend when timed correctly.
Let’s dive into the Xs and Os and break down exactly what happens in this sequence.
Step-by-Step Play Breakdown: The Elevator Screen
Based on the animation, here is how the play develops from the initial set to the final shot.
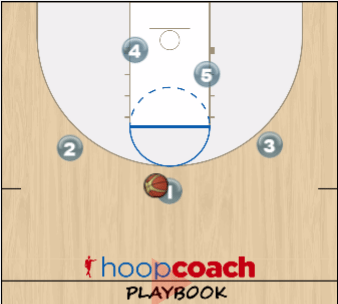
1. The Setup The play begins in a relatively standard spacing alignment, similar to a 4-Out 1-In or a wide Horns set.
- Player 1 (Point Guard) has the ball in the left slot.
- Player 2 (Target Shooter) is positioned on the left wing.
- Players 4 and 5 (The Bigs) are spaced near the elbows/top of the key.
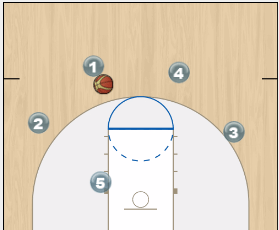
- To initiate the action, Player 1 dribbles down toward the left wing. This dribble-entry forces Player 2 to clear out and sink down toward the low block.
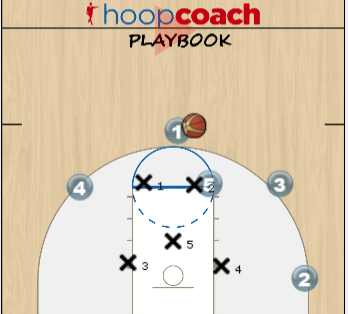
2. The Bait and Formation This is where the deception happens. By sinking to the baseline, Player 2’s defender is lulled into thinking they are defending a baseline cut or preparing for a traditional pin-down screen. Meanwhile, your two bigs (Players 4 and 5) shift to the center of the floor, right around the free-throw line, leaving a small gap between them.
3. The Elevator Action: “Closing the Doors” Here is the crux of the quick hitter. Player 2 suddenly plants their foot and sprints aggressively straight up the middle of the paint, threading the needle right between Players 4 and 5. As soon as Player 2 passes through the gap, Players 4 and 5 immediately step together, literally “closing the elevator doors.” Player 2’s defender, who is trailing the play, gets completely flattened or walled off by the double screen. They have nowhere to go.
4. The Delivery and The Shot Player 2 pops out to the top of the key, completely unguarded. Player 1, who has maintained a live dribble on the wing, delivers a crisp, on-time pass to the top. Player 2 steps into the catch in rhythm and knocks down the wide-open 3-pointer.
A Coach’s Keys to Success
If you want to install this 3-point quick hitter into your playbook, pay attention to these critical coaching points:
- Timing is Everything: The pass from the point guard (1) must perfectly coincide with the shooter (2) clearing the screen. If the point guard picks up their dribble too early, the defense will jump the passing lane.
- Set Solid “Doors”: The screeners (4 and 5) must be disciplined. They cannot move to close the doors before their teammate gets through, or it disrupts the path. Furthermore, they need to avoid illegal screens by establishing position right as the defender arrives.
- Sell the Baseline Cut: The shooter must sprint hard to the baseline before cutting up. The harder they sell the initial down-cut, the more the trailing defender will relax or take a bad angle, making them highly susceptible to the elevator doors.
Why You Need This Quick Hitter in Your Playbook
When defenses are switching everything or aggressively denying the perimeter, traditional screens like flare screens or pin-downs can get blown up. The Elevator Screen forces the trailing defender into a physical wall that they cannot easily navigate around without going under the screen—which takes too much time.
Take a look at the animation for this three point quick hitter.
What’s your go-to set play when you desperately need a 3-pointer? Let me know in the comments below!