How to Bust a 2-3 Zone: Breaking Down a Zone Quick Hitter
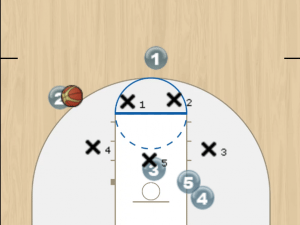
As coaches, we’ve all been there: the opposing team drops into a sagging, disciplined 2-3 zone, trying to dare your squad to settle for contested perimeter jumpshots or force risky passes into a congested paint. If you want to crack that shell, you need crisp ball movement, precise timing, and deliberate off-ball screening to manipulate the zone’s responsibilities.
Today, we are breaking down a highly effective zone quick-hitter from the Hoop Coach playbook
You can view the original animated play layout directly via Hoop Coach.
Step 1: The Initial Entry and Floor Spacing
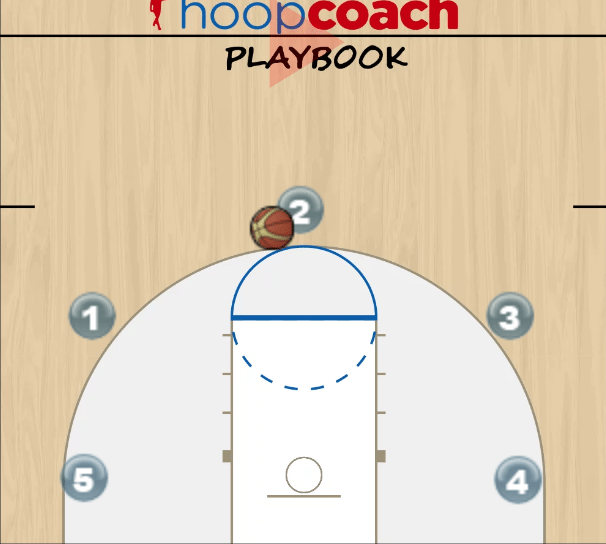
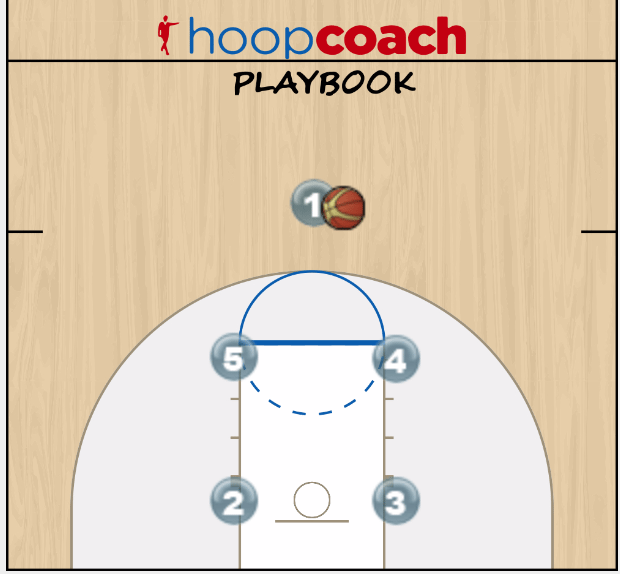
The play starts in a traditional look designed to shift the top two defenders (X1and $X2).
- The Setup: 1 initiates the offense from the top of the key. 2 is spaced out on the left wing, and 3 is on the right wing.
- The Stack: Crucially, 4 and 5 start stacked low on the right block, right in the lap of the backline of the zone.
- The Action: 1 passes the ball over to 2 on the left wing. This initial pass forces the zone’s top-left defender to commit and slide over to account for the ball.
Step 2: The Baseline Loop and Overload
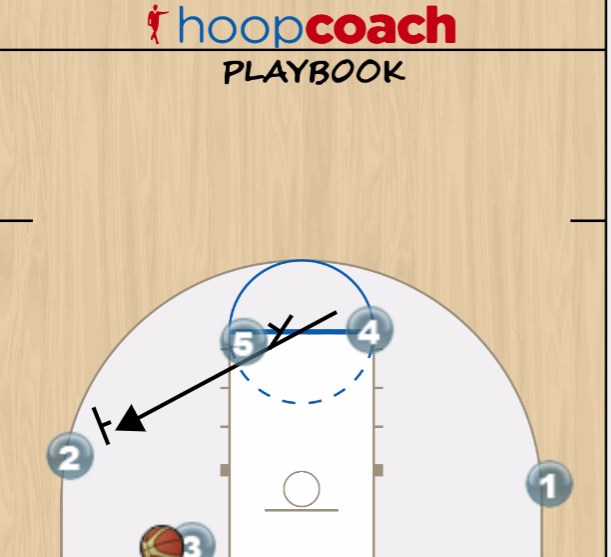
Once the defense shifts its focus toward 2 on the left wing, the weak-side movement begins.
- 3 begins a deep baseline cut, looping from the right wing completely underneath the rim toward the right corner.
- Simultaneously, 5 shifts slightly up near the right block to prepare a physical wall, while 4 wraps around the baseline underneath the rim alongside 3.
Step 3: The Ball Reversal and Pin Screen
This is where the magic happens and the zone’s rules are weaponized against them.
- 2 quickly reverses the ball back to 1 at the top of the key, drawing the top of the zone back to the middle.
- While the ball is in flight back to 1, 5 clamps down and sets a textbook pin screen on the bottom-right defender of the zone.
- This screen completely seals off the baseline defender, preventing them from recovering out to the perimeter.
Step 4: Finding the Open Man
- 1 catches the reversal and instantly skips it over the top to 3, who has now successfully leaked out into the vacant right short corner/wing.
- 4 follows the play to act as a safety outlet or immediate weak-side rebounder right under the rim.
- Because 5 perfectly pinned the backline defender inside, 3 catches the ball with completely clean looks—giving them ample time to step into an open rhythm jumper or drive the closeout from a scrambling defender.
Why This Play Works (Coaching Insights)
- Overloading the Backline: By running 3, 4, and 5 all toward the right side of the floor while the ball is on the left, you force the bottom of the zone to make split-second decisions on who is responsible for the corner cutter versus the block.
- The Power of the Pin: In a 2-3 zone, defenders are taught to slide and cover areas rather than bodies. When 5 physically seals the low-man, the defensive area is completely compromised, leaving no one to contest the corner skip pass.
- Patience and Timing: If 1 skips the ball too early before 5 establishes the screen, the defense recovers easily. The key coaching cue here is patience on the wing, urgency on the screen.
Download the PDF of Zone Quick Hitter for a Big and/or view the animation