How a Match-Up Defense Shuts Down Motion Rotations
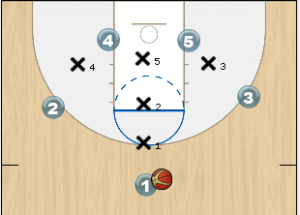
A great match-up defense gives the illusion of a zone (clogging passing lanes and protecting the paint) but applies strict man-to-man rules once the ball moves. The goal is simple: no uncontested shots, no easy entries, and seamless communication.
Let’s break down the defensive adjustments phase-by-phase.
The Defensive Philosophy: Zone Looks, Man Principles
Phase 1: The Initial Alignment
-
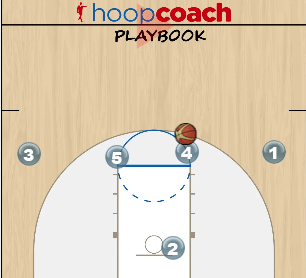
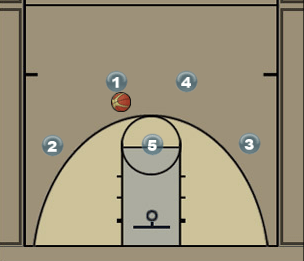
The Offensive Look: Traditional 3-Out, 2-In alignment. Player 1 has the ball at the point; 2 and 3 are on the wings; 4 and 5 occupy the blocks.
-
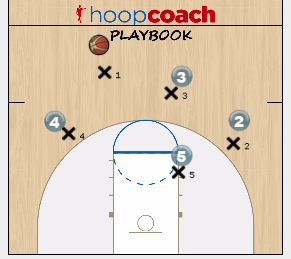
The Defensive Counter: We establish our base 1-2-2 or 2-3 Match-Up shell.
-
Our point defender (X1) takes the ball at the top.
-
Our wing defenders (X2 and X3) hug the passing lanes to deny easy wing entries.
-
Our bigs (X4 and X5) anchor the low blocks, playing slightly on the high side of the offensive posts to discourage direct entries.
-
Phase 2: The Wing Entry & The “Amoeba” Shift
-
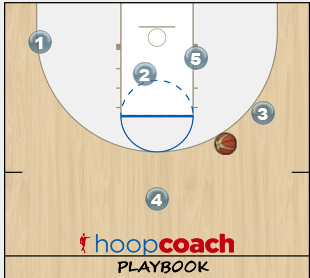
The Offensive Look: Player 1 passes to 3 on the left wing. Simultaneously, Player 5 flashes from the weakside block to the top of the key, while Player 2 cuts along the baseline to the ball-side corner.
-
The Defensive Counter: This is where static zones die, but our match-up thrives through “bumping” and passing off runners:
-
On-Ball Coverage: X3 immediately closes out on Player 3, playing him tight to force a lateral baseline drive or a fallback pass.
-
Handling the High Post Flash: As Player 5 flashes high, X5 cannot follow him all the way out and leave the paint exposed. Instead, X1 (dropping from the top) “bumps” down to take responsibility for Player 5 as he migrates high.
-
The Baseline Cut: Player 2 cuts to the corner. X4 (the ball-side low defender) must step out slightly to shadow the corner space, while the weakside wing (X2) sinks deep into the paint to replace X4 and box out Player 4.
-
Phase 3: The Reset to the Point
-
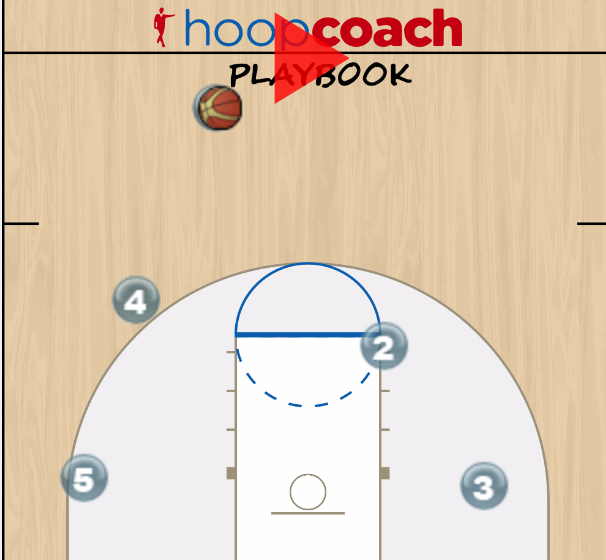
The Offensive Look: Stymied on the wing, Player 3 skips the ball back to Player 5, who is now stationed at the top of the key.
-
The Defensive Counter: The defense must instantly recalibrate from a corner-loaded shell back to a point-defense structure.
-
X1 (who dropped to cover the flash) steps up instantly to become the on-ball defender against Player 5 at the top of the key.
-
X3 and X2 fan back out to their respective wings, ready to contest the next pass.
-
X4 and X5 drop back down to protect the low blocks and re-establish inside positioning.
-
Phase 4: The Weakside Swing
-
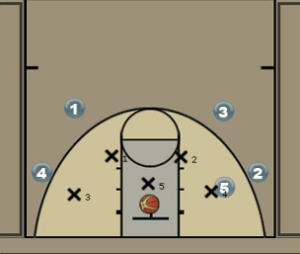
The Offensive Look: Player 5 swings the ball to Player 1, who has relocated to the right wing.
-
The Defensive Counter:
-
X2 (the right wing defender) must execute a textbook closeout—chopping feet, staying low, and taking away the rhythm jumper while forcing Player 1 toward the help defense in the middle.
-
X5 quickly seals the right block to prevent a quick hi-lo pass to the inside.
-
X3 and X4 slide over to become the weakside help, forming a wall in the paint.
-
💡 Key Coaching Takeaways for Your Team
Talk, Talk, Talk: A match-up defense is only as good as its communication. The “bump” from X1 to cover the high post requires loud, early directives.
Protect the Paint First: Notice how the weakside defenders (X2 and X5) are constantly shrinking into the key when the ball is away. We force teams to beat us with contested, over-the-top skip passes—never easy layups.
Conditioning is King: This defense requires relentless activity. If your players stand still for even a second during a high-post flash, the system fractures.
Download the Match Up Defense PDF or view the animation.